
 Explore
 Write
Write Chat
Chat Call
Call
High Performance & Scientific Computing
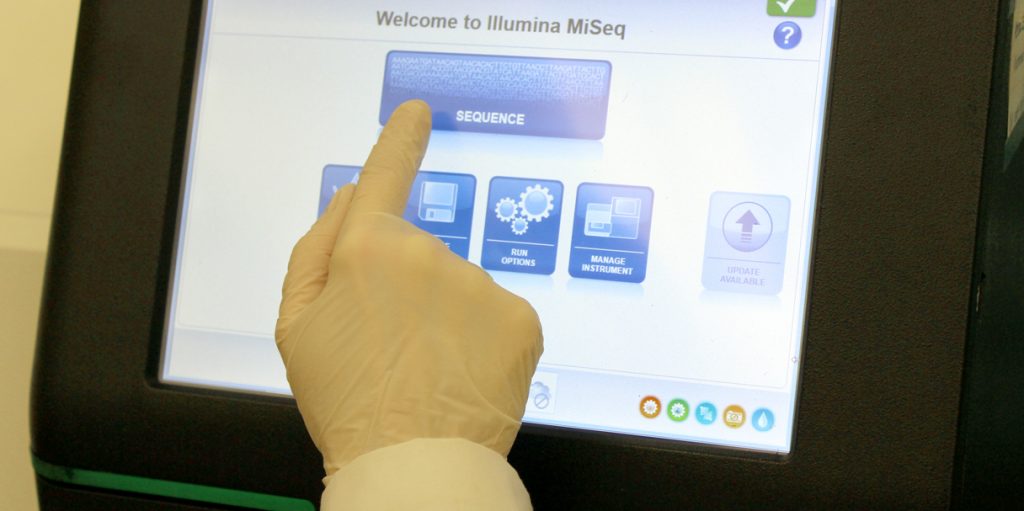
Sequencing with the Genomics Core Facility
Service navigation
Information about using the ISAAC-NG cluster for bioinformatics and computational biology research has moved to the Bioinformatics Computing Support page.
The University of Tennessee (UT) Genomics Core is a core facility that provides DNA and RNA sequence analysis and training.
Specific services include:
- High-throughput sequencing of DNA (amplicon sequencing, shotgun metagenome sequencing, small genomes)
- High-throughput sequencing of RNA (whole transcriptome shotgun sequencing, RNASeq)
- Consultation and teaching on high-throughput sequencing approaches
The main function of the Genomics Core is to serve UT students and faculty, but services are also available to researchers outside of UT (“external”). Core facility staff is available for consultation and training, including project design. See the UTK Genomics Core facility page for more information.
Use Globus to download your data
Globus is a web application that lets you transfer your data to the ISAAC-NG cluster or download it directly to your local computer.
- If you do not already have a Globus account, start by creating one.
- See the Globus documentation by going to Data Transfer on ISAAC-NG > “Globus Overview”.
- Note: Using your university (or other organizational) affiliation is recommended to set up your Globus account.
- Next, contact the UTK Genomics Core for DNA and RNA sequencing.
- Provide the Genomics Core staff with your Globus account ID (e.g., email address).
- When sequencing is complete, you will receive a notification from Globus with details on how to access your data.
More details about Globus are available at https://www.globus.org/data-sharing.
Use the ISAAC-NG cluster to analyze your data
ISAAC-NG is UT’s high-performance computing cluster where you can conduct all of your bioinformatics analysis via the Linux command line.
- If you do not already have a user account, start by creating one.
- Next, contact the UTK Genomics Core for DNA and RNA sequencing.
- Use Globus to transfer your sequencing data to the ISAAC-NG cluster.
- If you do not already have a user account, start by creating one
- Request a new project:
- Go to the ISAAC Portal.
- In the Projects section, click the button:
“Click here to request a new project, to be added/removed from an existing project, or to have a project directory created.“ - Next, click the button:
“Request a new project on the ISAAC Legacy and Next Gen Clusters.“ - Then, fill out the form with your project details.
- Finally, click the button at the bottom of the page:
“Request an ISAAC Project“
- Add your lab members to the project so that they can access the data:
- Go to the ISAAC Portal.
- In the Projects section, click the button:
“Click here to request a new project, to be added/removed from an existing project, or to have a project directory created.“ - Next, click the button:
“Request to add users to one of your projects.“ - Follow the prompts to on-screen instructions to add users to your project account.
- You can now access your project directory at:
/lustre/isaac24/proj/<PROJECT ID>
where<PROJECT ID>is the unique identifier for your project account.
IMPORTANT: You will need your faculty PI to create a project on ISAAC (see above) to access data from the Genomics Core facility.
- If you do not already have a user account, start by creating one
- Request to be added to an existing project.
- Go to the ISAAC Portal.
- In the Projects section, click the button that says:
“Click here to request a new project, to be added/removed from an existing project, or to have a project directory created.“ - Next, click the button that says:
“Request to be added to an existing project.“ - Enter the
Project IDfor the project, you want to be added to. - Finally, click the button at the bottom of the page that says:
“Request Access“ - Once the PI approves the request, you will be granted access to the associated project directory on ISAAC (see above).
- You can now access your project directory at:
/lustre/isaac24/proj/<PROJECT ID>
where<PROJECT ID>is the unique identifier for your project account.
- See “Use Globus to transfer your data” above, or submit a ticket to request more information on setting up a non-UT affiliated ISAAC account.